1. Upload Your Data File
First, you must upload your dataset, which should be in CSV format.- Navigate to the Data section from the main navigation.
- Click on the “Upload CSV” button.
- Select and upload the file containing your test data (e.g.,
user_logins.csv).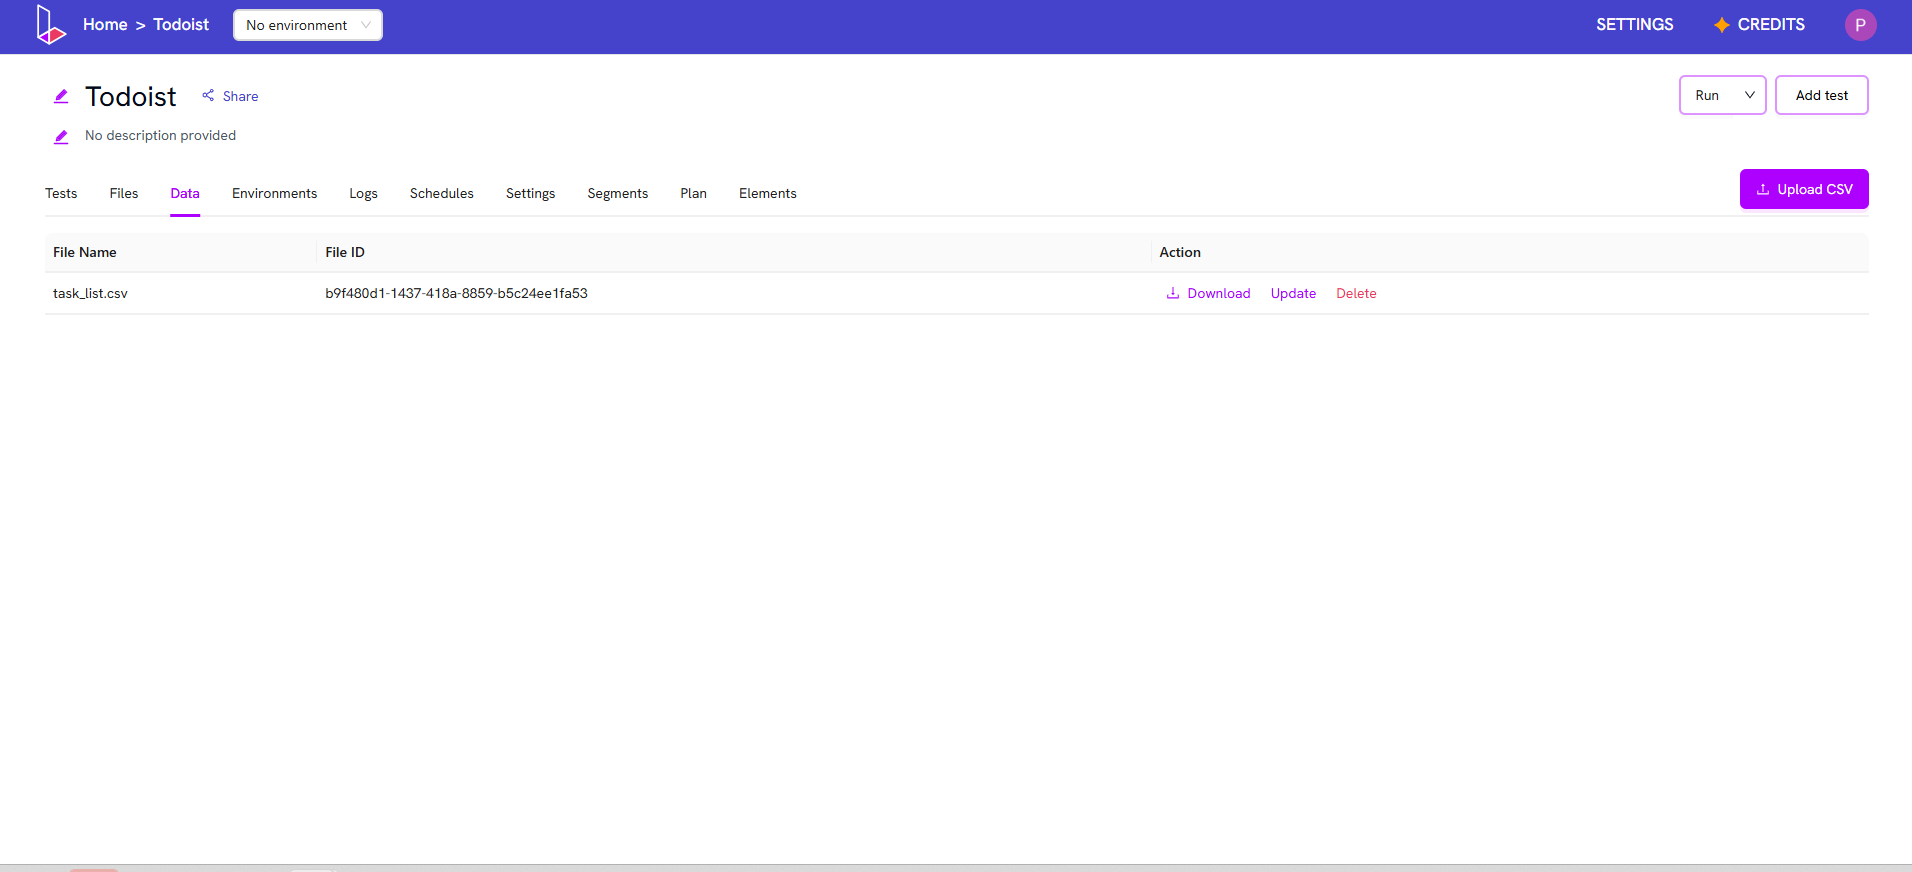
2. Link Data to Your Test
Next, you need to tell your test which data file to use.- Open the test you want to make data-driven.
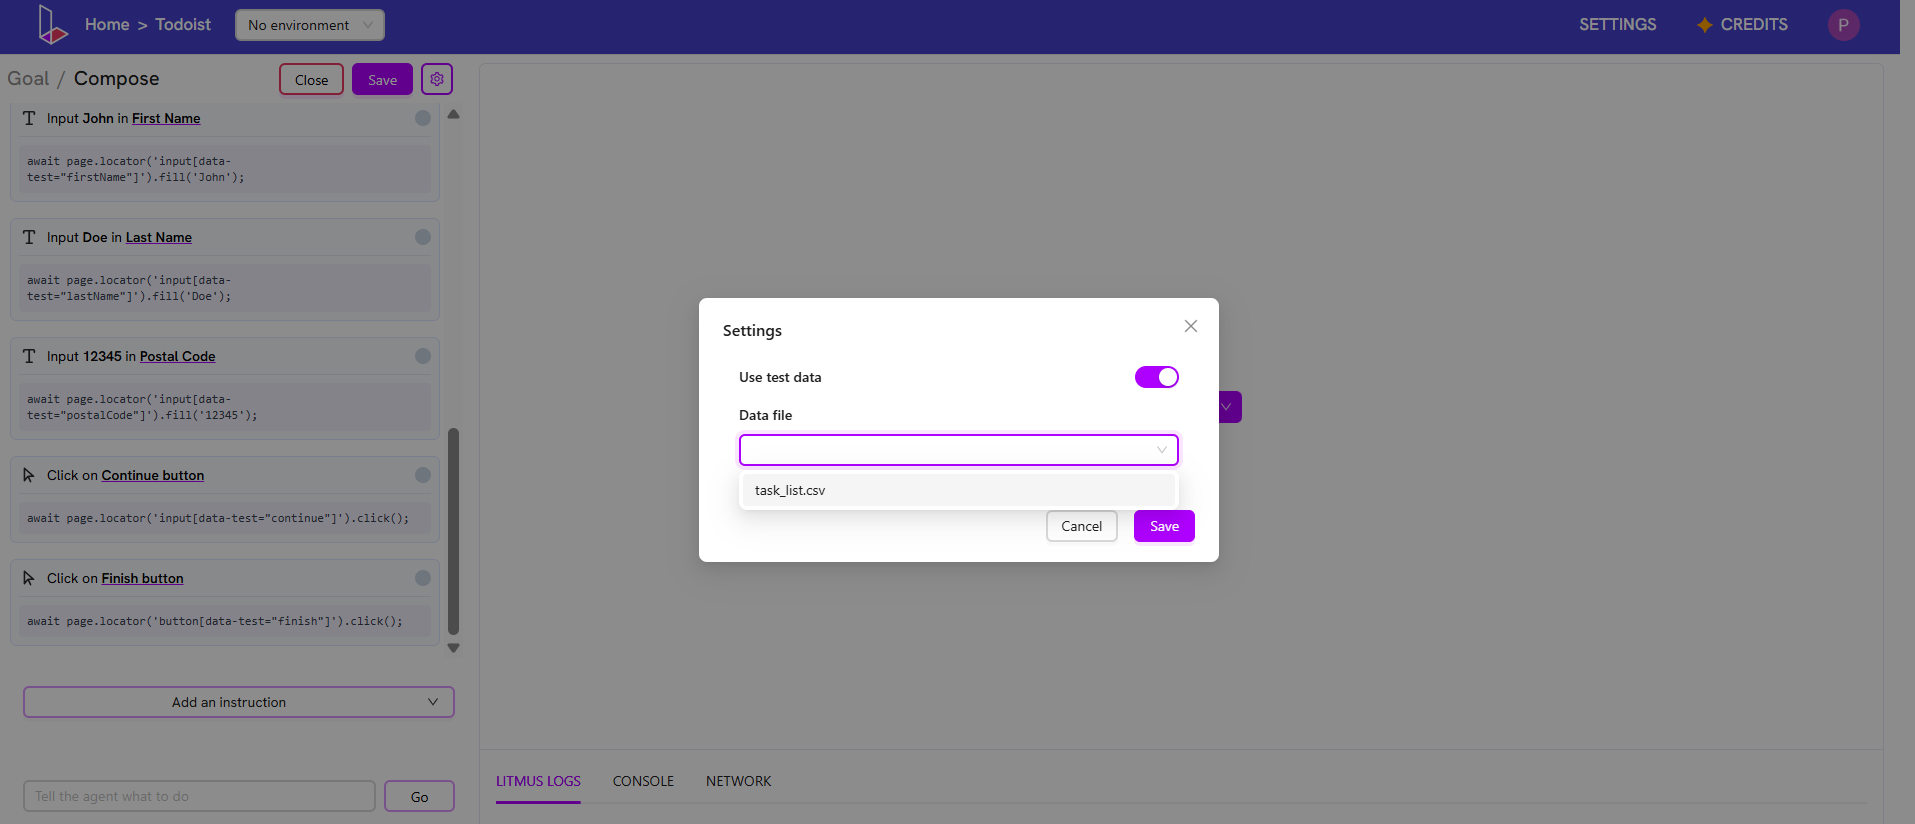
- In Compose Mode, click the Settings button (the gear icon) located next to the “Save” button.
- A new screen will appear. Find the “Use test data” toggle and turn it on.
- From the dropdown, select the CSV file you just uploaded.
- Click “Save” to link the file to this test.
3. Use the Data in Your Test Steps
Now you can reference the data from your file in any test step. To use a value, you reference the column header from your CSV file using the following format:${COLUMN_HEADER}
Example: If your CSV has a column header namedTask_data, you would enter'${Task_data}'into an “Input” step’s value field.
How it Works:
- In Compose Mode: The test will only use the data from the first row (Row 1) of your CSV file for validation and composing.
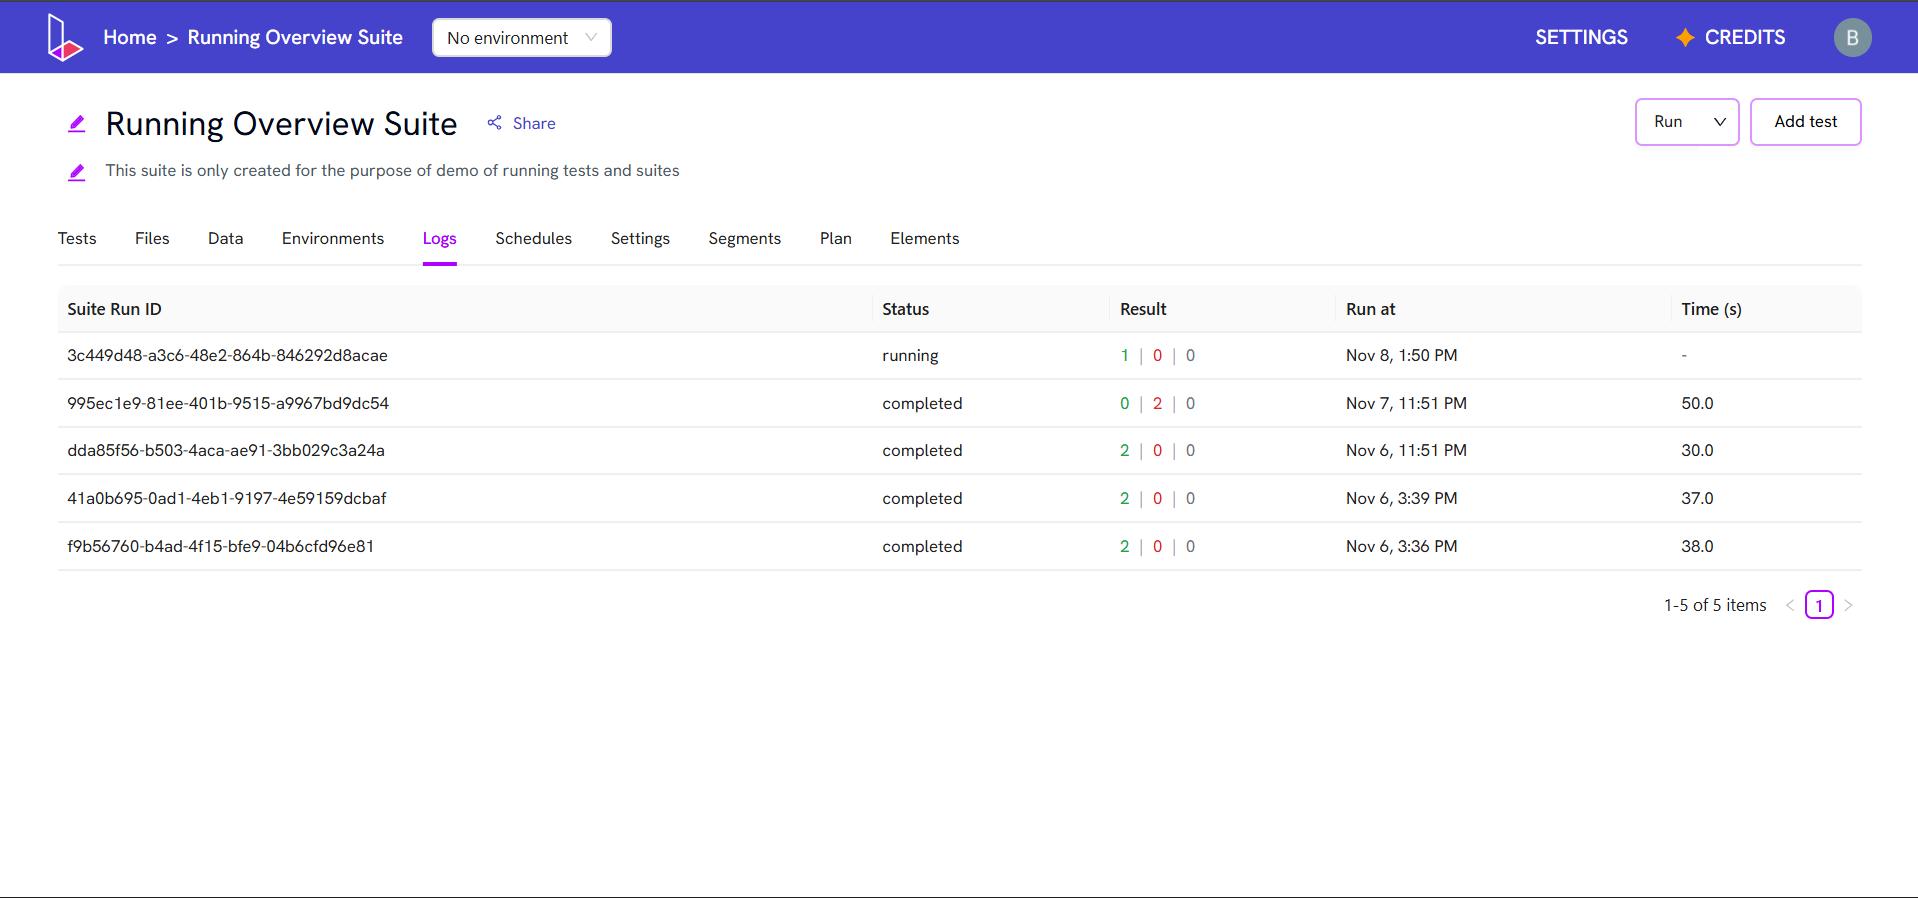
- In a Saved Run: When you save and run the test, it will execute one full time for every single row in your CSV file. You can see the results for each data row in the “Logs” section.