Writing your First Script
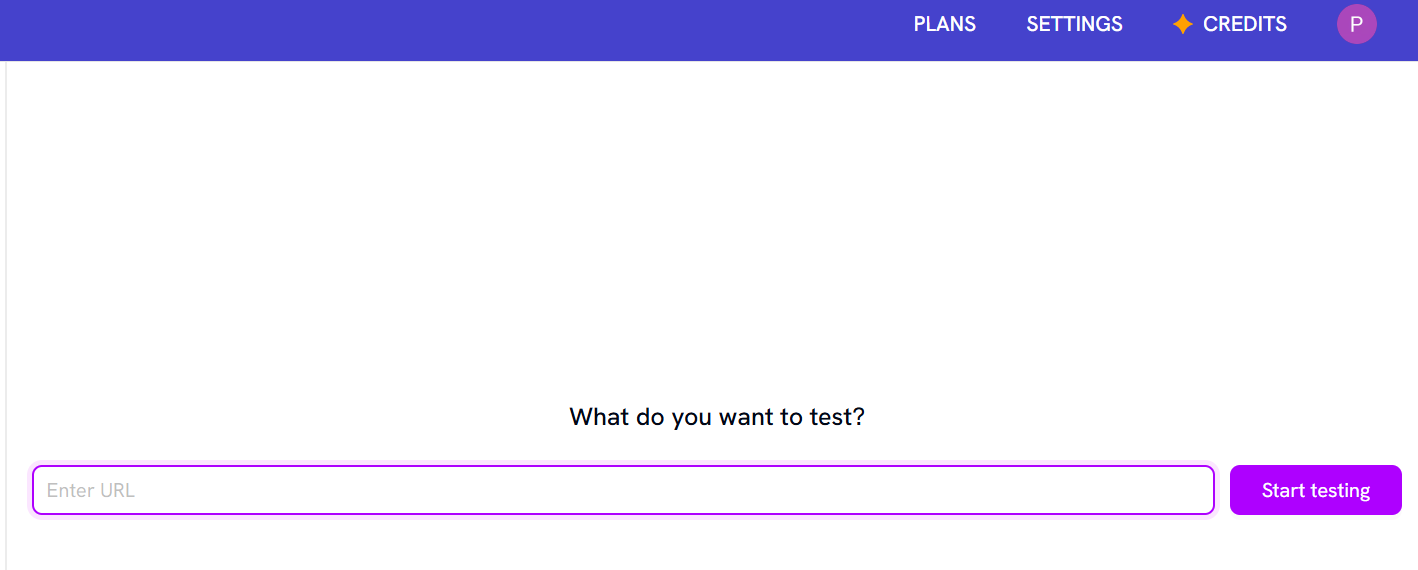
- Begin on the script creation page, where you will find an option to “Enter URL”.
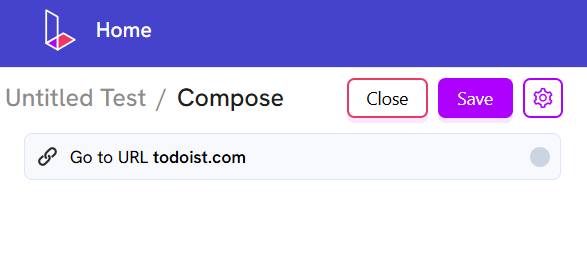
- Enter your website’s URL into the provided field to load the page.
- Once the page loads, you can add subsequent steps (like clicks, text input, etc.) to build out your test script.
Adding Instructions to your Test
- After loading your URL, “Compose Mode” becomes active, prompting you to add your first instruction.
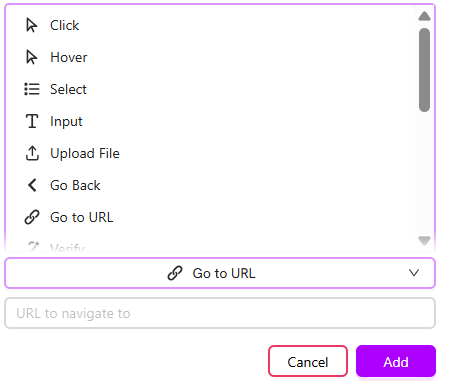
- All available automation actions (such as ‘Click’, ‘Type’, ‘Assert’) are listed under the “Add an instruction” dropdown.
- Select an action (e.g., “Click”). You can then choose from a list of saved elements or use the AI prompt to find a new one (e.g., “Click on Add task CTA”). After you click ‘Add’, the script will perform the action.
Editing and Running your Test
You have several controls to manage the test execution and edit steps.- Stop / Rerun: The Stop button pauses the execution, allowing you to make changes. The Rerun button runs the test again from the beginning.
- Drag and Drop: Use the drag icon on the left of each step to change the order of execution.
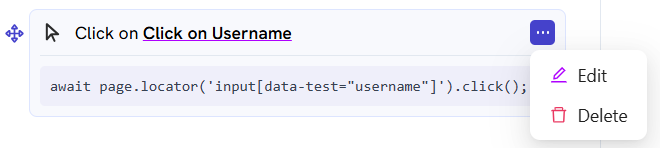
- Edit / Delete: Clicking the three dots on a step allows you to either Edit its content or Delete the step entirely.
Saving a Test
- When you are satisfied with the test execution, locate the “Save” button at the top-left of the screen.
- Click “Save” to open a pop-up, which will ask you to name your test.
- You also have a “Close” option, which closes the Compose window without saving the test.
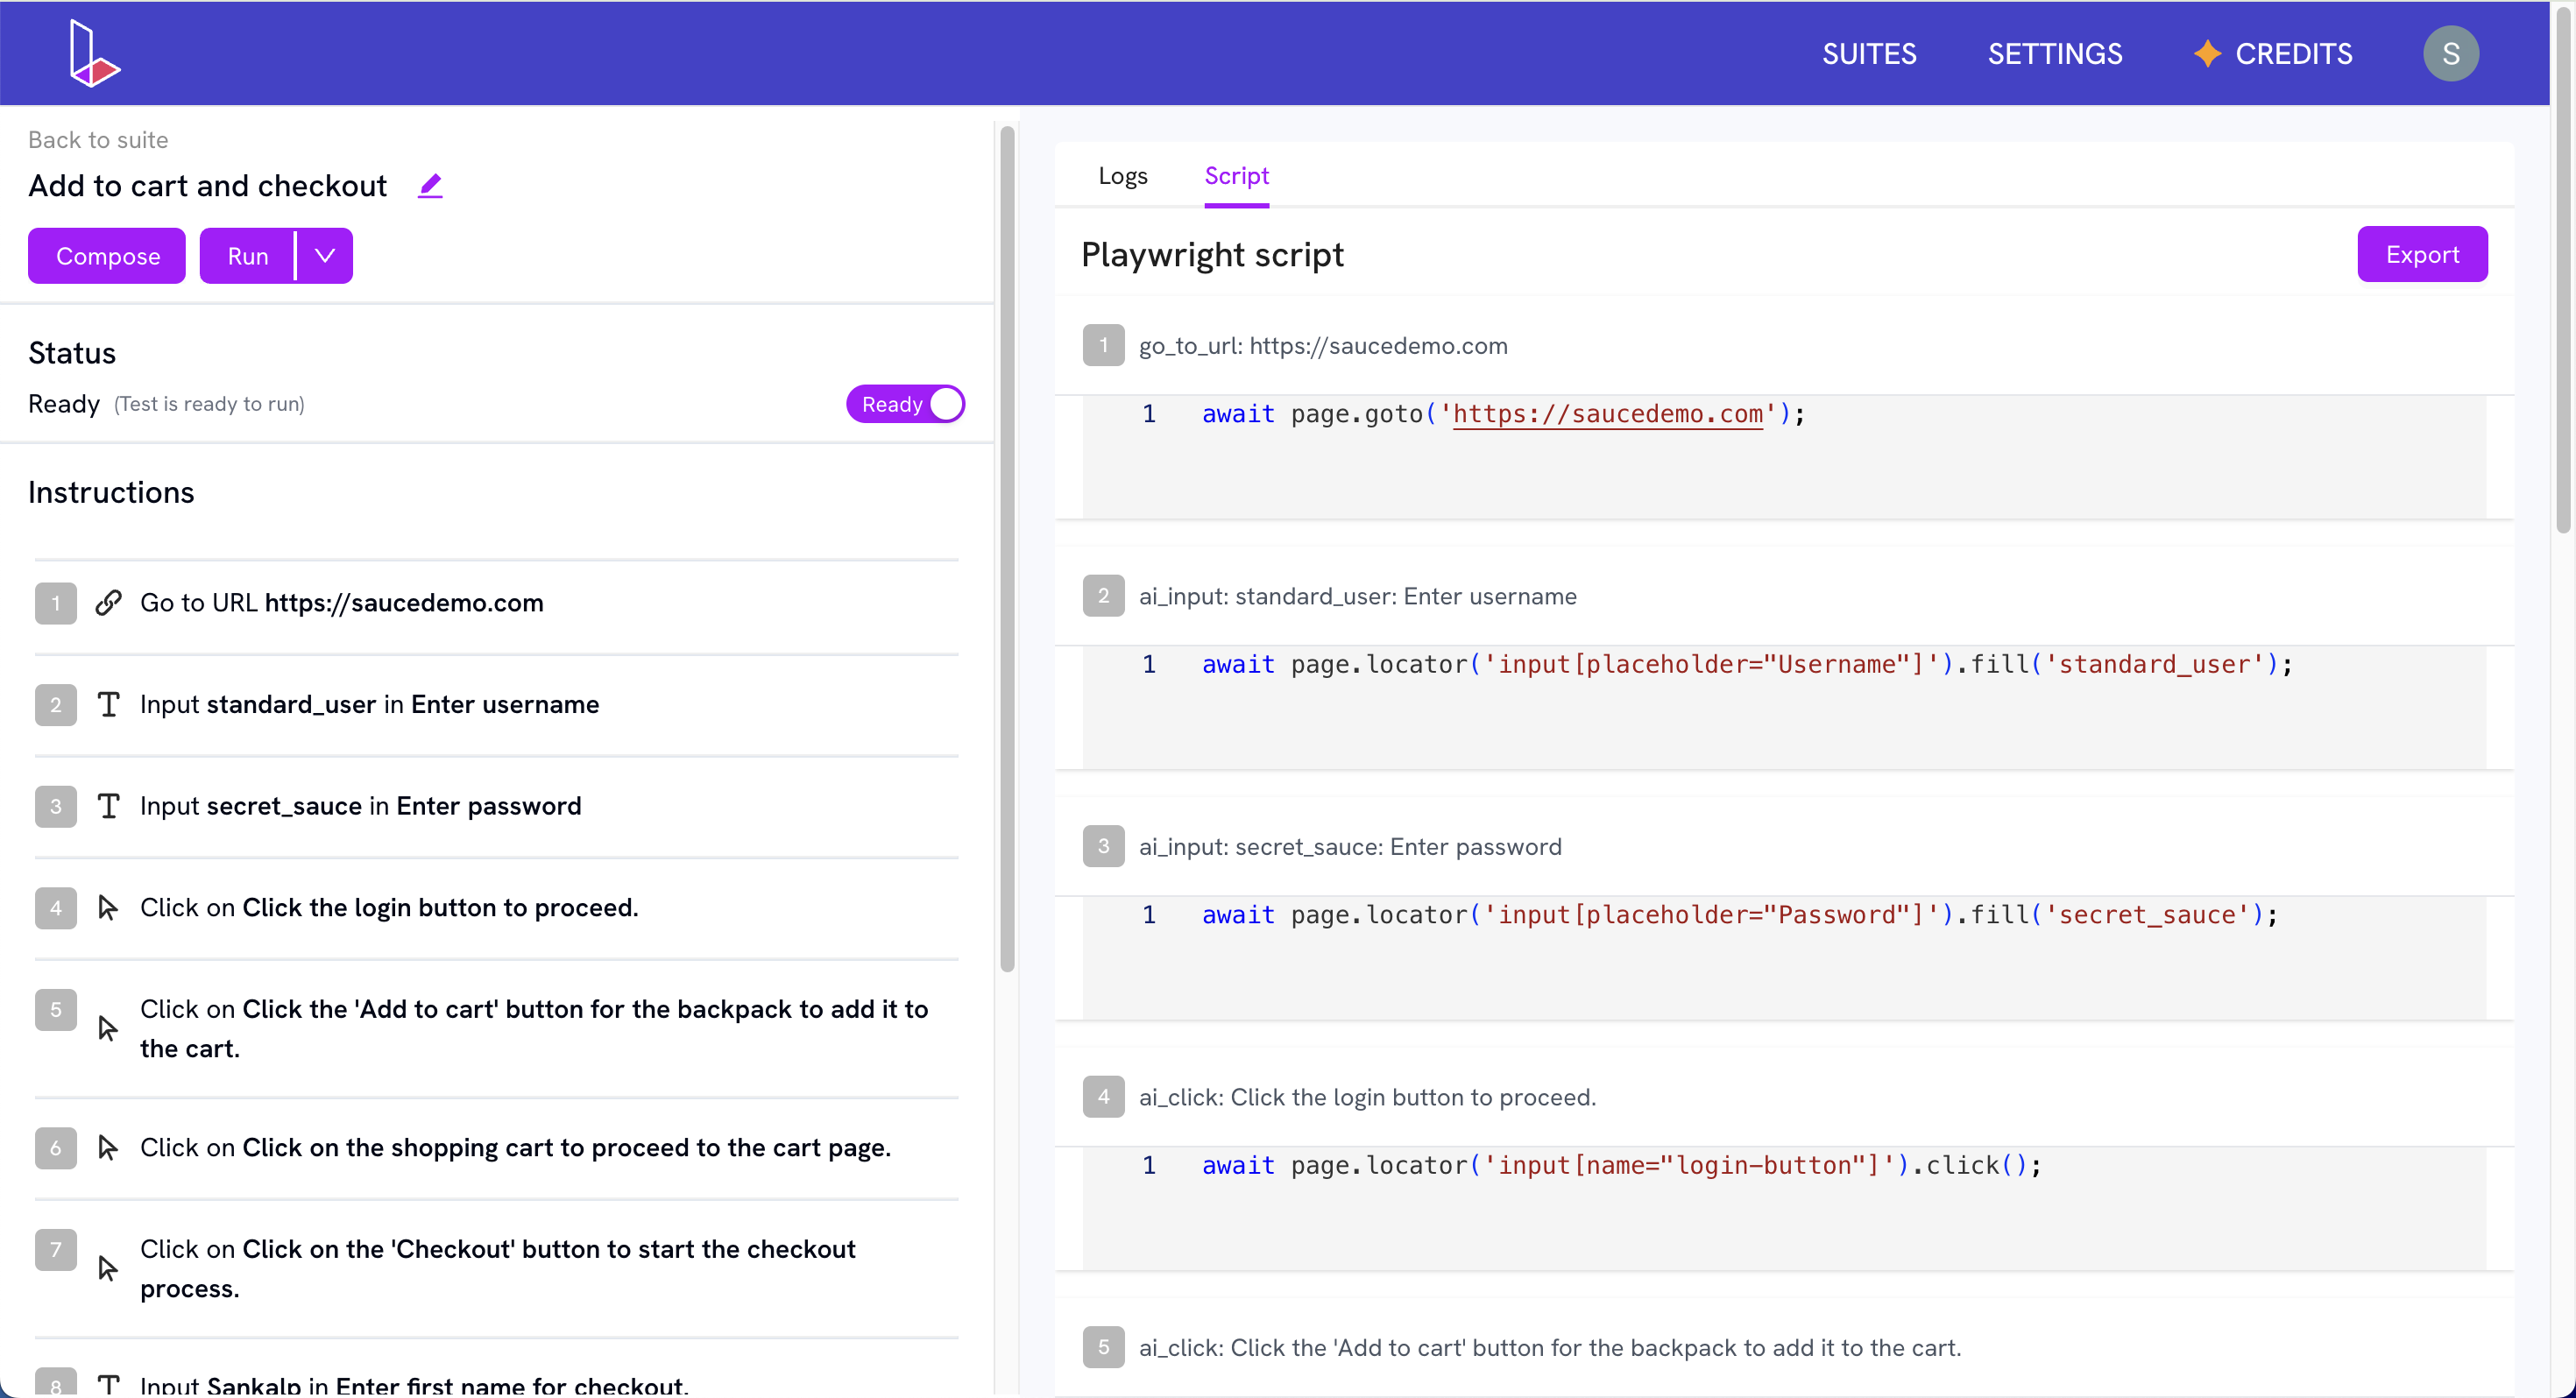
Viewing and Exporting Test Scripts
- After saving, navigate to the test.
- Click the Scripts tab to see the generated code for each instruction.
- Click Export to download the full test script.